Orangutan USB Programmer
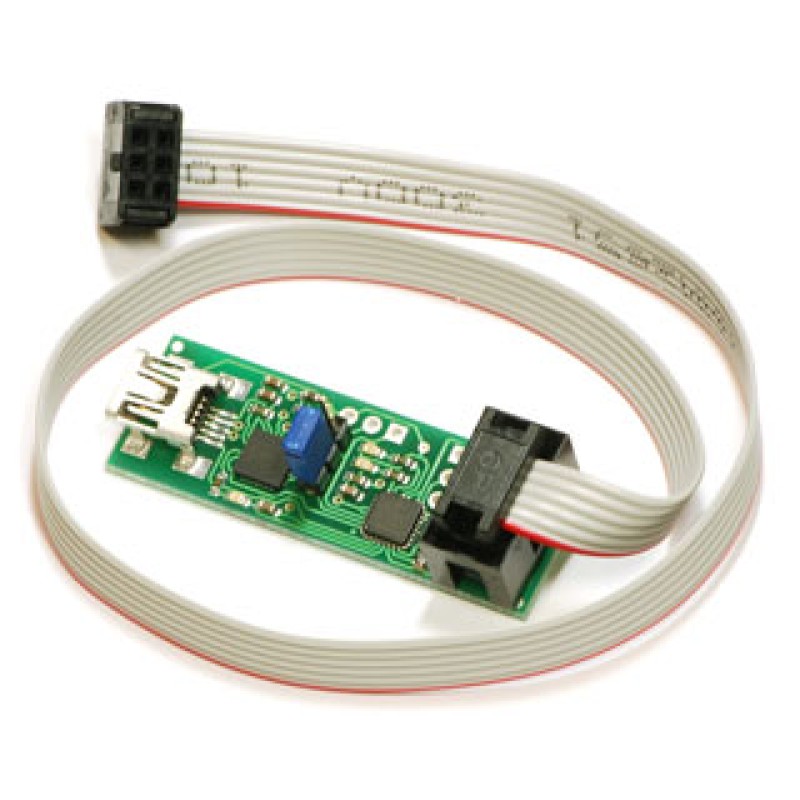
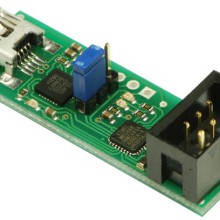
This programmer is a compact solution for programming our Orangutan,
Orangutan SV-328, Orangutan LV-168, and Baby Orangutan robot controllers through a USB port.
It can also program our 3pi robot. Our programmer incorporates a
USB-to-serial adapter and emulates an AVR ISP programmer so that you can program your
Orangutans or 3pi with any software that can talk through a serial port to an AVR ISP,
such as Atmel’s AVR Studio 4 and AVRDUDE, which is included in the open-source WinAVR package.
The unit also doubles as a USB-to-serial adapter
(TX and RX only), allowing you to communicate with your Orangutan,
3pi, or any other microcontroller, through a terminal program.
A USB A to Mini-B cable is required but not included. These types of cables are common for
digital cameras and other USB peripherals, so you might already have the necessary cable.
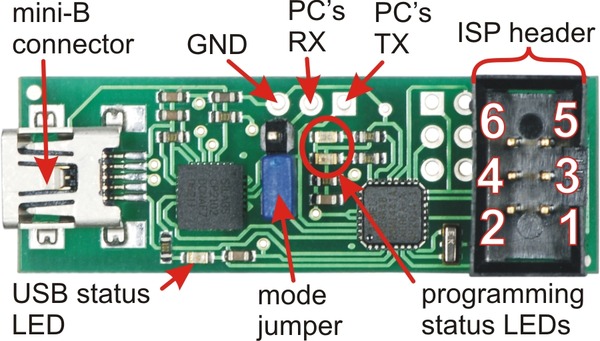
The 6-pin ISP programming cable (pictured to the right) is included.
The older, 10-pin ISP connections are not directly supported.
Using the USB programmer
Begin by following the USB-to-serial adapter driverinstallationinstructions. Make sure you
install the driver before you connect your programmer to the computer.
The USB adapter will install as two devices (USB device and COM port); you can ignore Microsoft’s repeated
warnings that the driver has not been tested by Microsoft. Once the driver is installed,
your programming software can communicate with the programmer as if it were on a serial port.
The programmer is powered through the USB port, but it does not deliver that power to the target device.
Your target device must therefore be turned on to be programmed.
Be careful about the pin 1 orientation with the Baby Orangutan, which does not have a shrouded ISP connector.
The red wire and mark on the ISP connector should be lined up with the arrow to pin1 on the Baby Orangutan PCB.
The Orangutan, Orangutan SV-xx8, Orangutan LV-168,
and 3pi robot all have keyed shrouded headers that enforce proper orientation of the ISP cable.
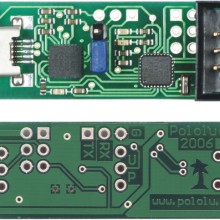
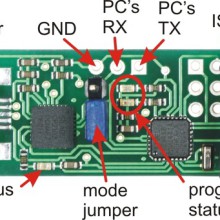
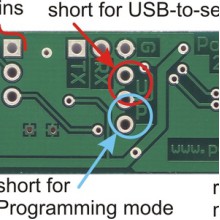
The USB-to-serial adapter functionality can be accessed through the pads on the side of the
PCB labeled TX, RX and G (for ground).
The TX line (from the computer’s
perspective—connect it to your target device’s RX line) is always connected, but the RX line needs to be switched
using the shorting block in the middle of the board.
Connecting it on the “P” side allows for programmer operation; the “U” side allows user USB adapter operation.
Please see our Orangutan USB Programmer User’s Guide for
more detailed information, usage instructions, and troubleshooting help.


